-40%
Glass Mirror Blue Tint Switch Plates, Wall Plates & Outlet Covers
$ 1.84
- Description
- Size Guide
Description
Glass Mirror Blue Tint Switchplates & Outlet CoversREAL GLASS, not the acrylic mirror switchplates available elsewhere. As you can well imagine, these switchplates are a real challenge to photograph! Please be assured they are quality glass mirror switchplates with a highly reflective surface.
NOTE: Back of switchplate is flat, not concave. Outlets and/or switches may need adjusting for switchplate to lie flat against wall. Try our Mirror Gaskets or See Instructions.
Medium:
Oversized glass mirror light switch plates with beveled edges.
Screws:
Coordinating screws provided by switch plate manufacturer.
DO NOT OVERTIGHTEN.
Glass may crack if screws are tightened too much.
Cleaning:
Clean Glass Mirror Blue Tint switch plate covers with mild soap and warm water. Do Not use abrasive cleaner.
Sizes:
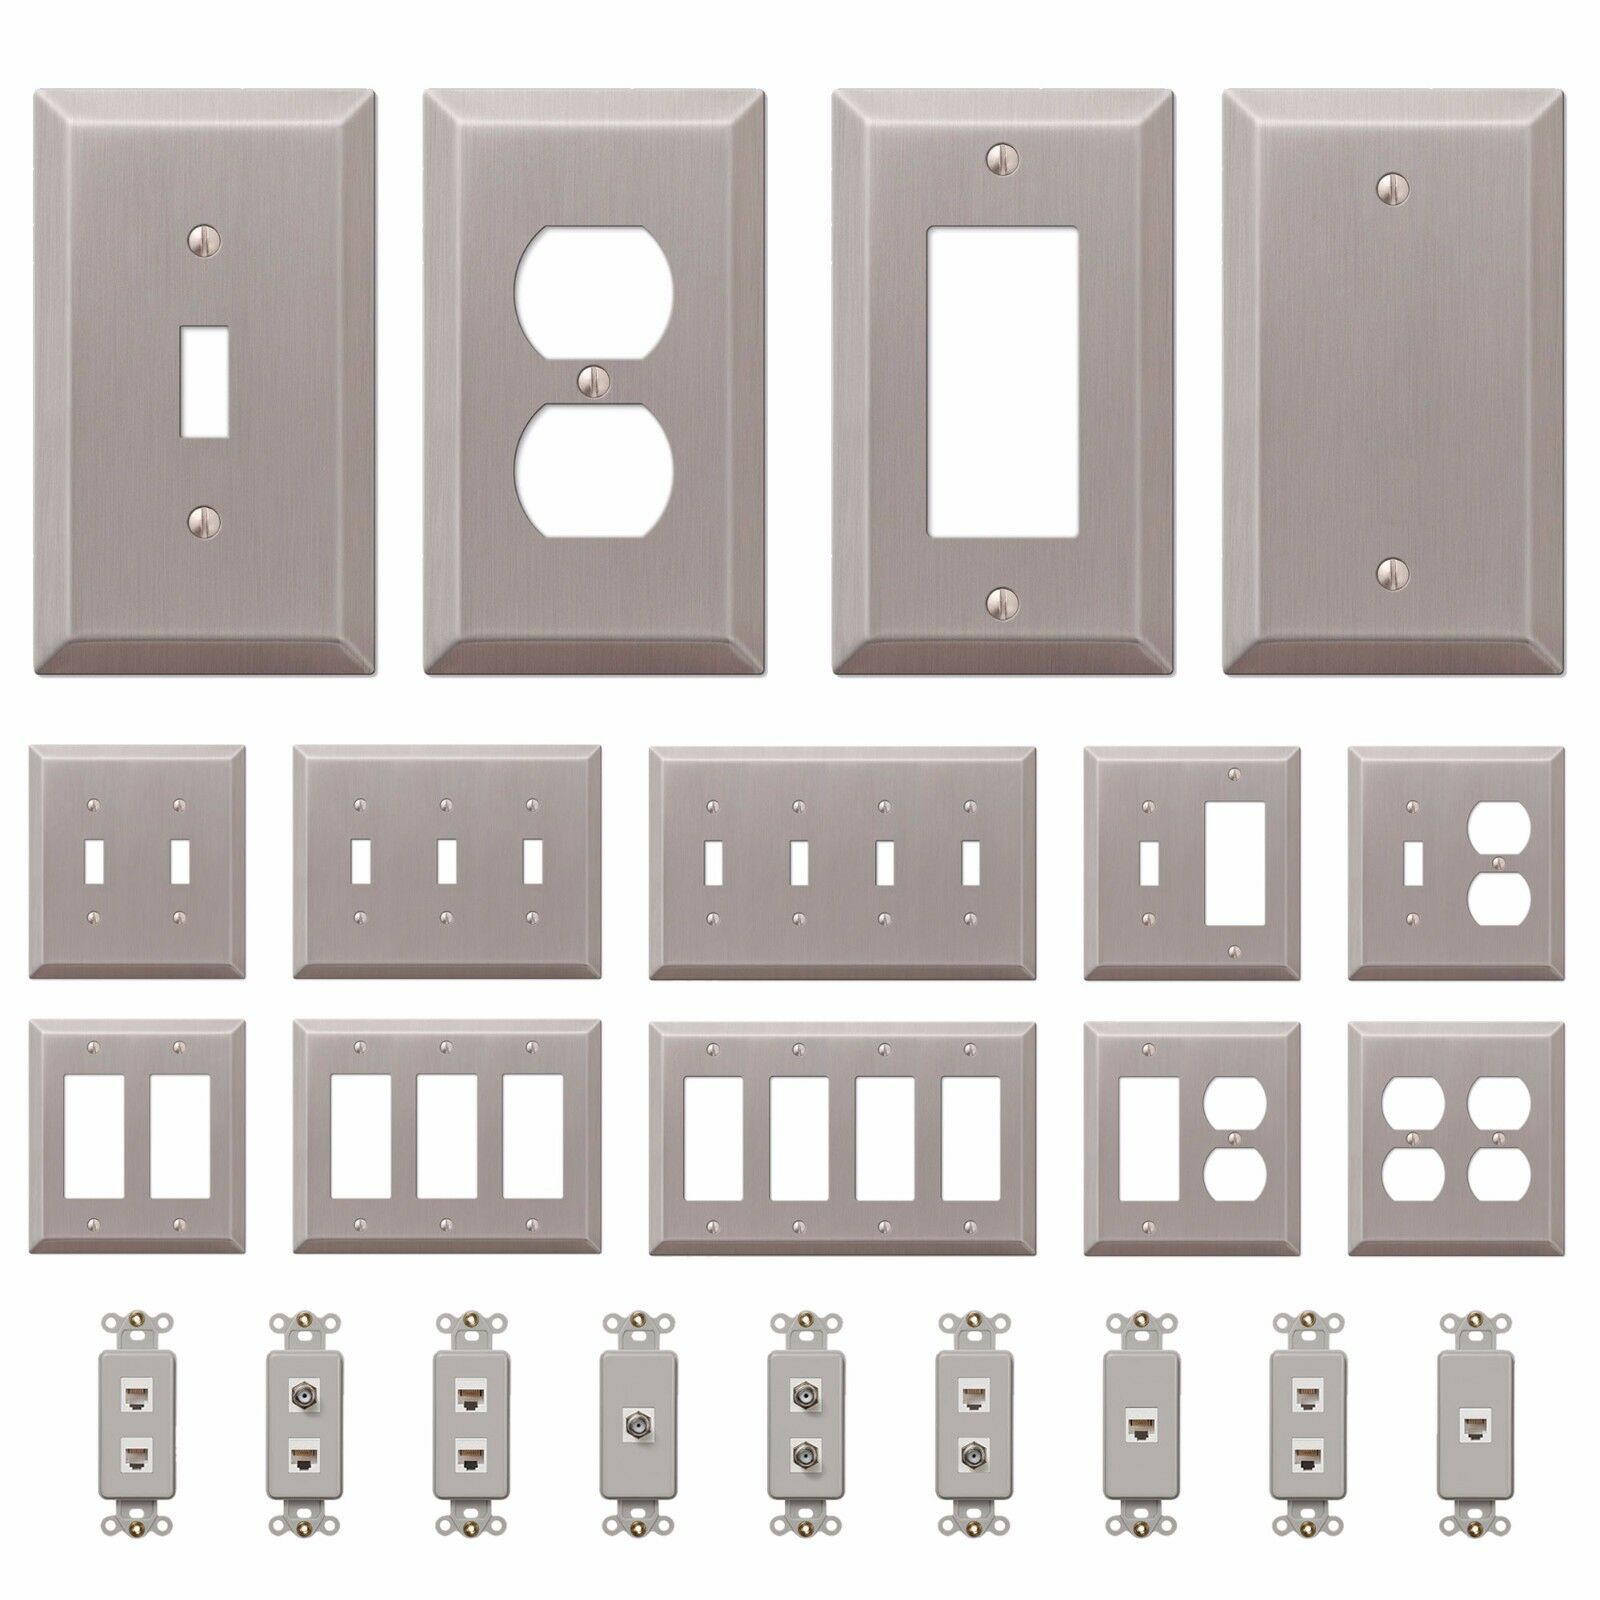
1 Gang: 3.5" w x 5.25" h
2 Gang: 5.25" w x 5.25" h
3 Gang: 7.5" w x 5.25" h
4 Gang: 9" w x 5.15" h
Glass is a fascinating material, and one that humans have been perfecting for ages. Just think of how primitive the pontil-marked glass in the early days of U.S. history was compared to the flawless expanses of it that are seemingly everywhere today. While the older pieces were full of unique character, modern glass (not the hand-blown kind) is much more visually appealing - especially when it's cut with a beveled edge. These oversized glass switch plates in attractive shades add a delicately appealing look to any space, and break up the monotonous texture of a wall with their smooth, shiny finishes.
Installation & Help
Screws Aren't Lining up
If you find that the screw holes, switches or outlets do not line up with a multiple gang switchplate, there is usually a simple solution.
Switches (not the switchplate) are attached to a rectangular or square box mounted in the wall. With the switchplate removed, you'll notice mounting screws on the top and bottom of the switch for mounting into the electrical box. Loosen the screws just enough so the switch can move back and forth. You'll notice at the top and bottom of each switch there is about 1/4 " of play at each mounting screw. That means, for a double toggle, there is 1/2" of play.
You must be careful not to touch the screws on the sides of switches or outlets. If the power is still live, you can be shocked. If you don't feel comfortable doing this yourself consult an electrician or handyman.
With the screws still loose a tiny bit, place the switchplate over the switches and adjust the switches accordingly so they line up with the switchplate. Start ALL the screws first which continues the lining up process. Tighten the screws like you would a tire on a car — alternate. Remember, some switchplates, though sturdy, may break due to overtightening. Do not overtighten...just firm is good enough.
Switchplate Isn't Flush Against Wall
If your switchplate doesn't lie perfectly flush against the wall, there may – or may not be – a solution. Please try the following:
Get Your Screwdriver
If there is a gap between the switchplate and the wall, it could be a minor adjustment. With the switchplate removed, you'll notice 2 screws on the switch (or outlet) that screw into the electrical box sitting in the wall. By tightening the top and bottom screws, the switch should sink into the wall further. You want to tighten the switch so the metal braces are at minimum flush with the wall. This will pull the switchplate closer to the wall also and eliminate the gap.
Flat Backs
We have a number of switchplate artists who make their switchplates from a flat piece of stock and the backs are not recessed. If the switch is not sunk into the wall as described above, the screws used to secure the switch to the electrical box may be the cause of this gap. Again, try to tighten the switch into the box so the switch's screws are at least flush with the wall.
Bad Electrician
Not to pass blame, but we do find far too many customers whose electricians did not install the electrical boxes deep enough for the switch to sit properly. In that case, the flat back plates will not lie flush.
Properly Installing A Switch Plate
Video will open in a new window
Using the mobile app? Copy this link into your browser:
The Switch Hits Advantage
FAST US SHIPPING
Most orders ship within 1 business day.
100% GUARANTEE
We will refund the purchase price. Simply return the item in its original condition.
COMBINED SHIPPING
Only .00 plus 50 Cents for each additional item*
CUSTOMER SERVICE
Questions answered promptly.
*Combined shipping:
.00 shipping for the first item added to the shopping cart and 50 cents per each additional item added to the shopping cart before checkout. All items must be in the same order to receive this discount.


